The Domemaster Photoshop Actions Pack is a collection of custom Adobe Photoshop actions – written by my friend Andrew Hazelden – designed to speed up the fulldome content creation workflow.
The actions provide tools for converting images from several common panoramic formats such as angular fisheye, equirectangular, and cube map panoramas, and general utilities for VR and fulldome production.
The Domemaster Photoshop Actions Pack is compatible with Photoshop both Mac and Windows.
This tutorial will show you how to remove the tripod from the bottom by using Domemaster Photoshop Actions Pack. The below panoramic 360 degree photos was taken by Ricoh Theta S camera at Hashiguiiwa (橋杭岩) in Wakayama-ken.

Firstly, I start by opening the 2:1 aspect ration LatLong image in Photoshop.

Then using the Domemaster Photoshop Actions pack toolset and run the General Utilties > Rotate 180 degree action, and then the Transform > 2:1 Equirectangular to Angular Fisheye action. This gives you a downward looking angular fisheye image to use for the tripod zone cloning process.

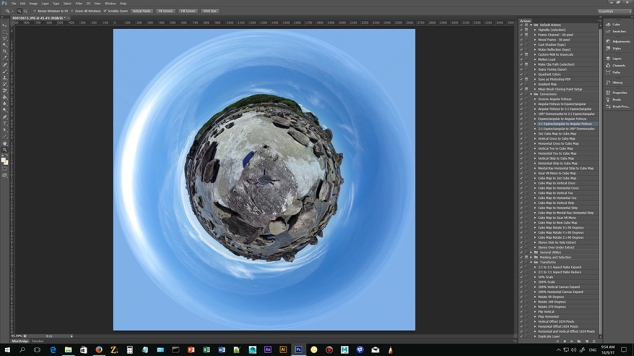
After that, you need to use the Photoshop clone stamp tool to retouch and remove the tripod.
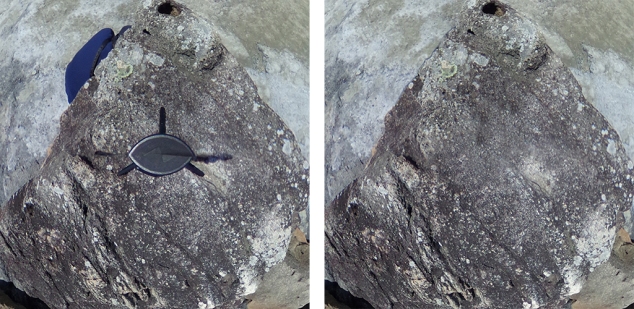
Next, you have to covert the retouched image by using “Conversions > Angular Fisheye to 2:1 Equirectangular” action to convert the image back into a LatLong projection.

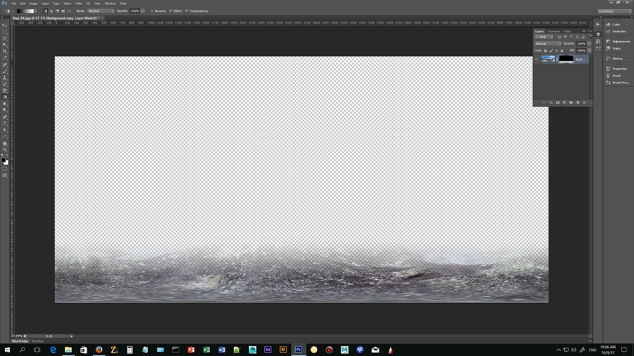
Since re-projecting a panorama can soften the image details, I suggest you add a layer mask to the repaired image in Photoshop and keep only the patched tripod zone at the bottom 25% of the frame. This means you will use the original image data for the top 75% of the LatLong picture that the audience is looking at most of the time.

This little Pack will save your Day! There seriously is no easier way to edit 360 Panoramic Footage in Photoshop then this. So a big THANKS to Andrew Hazelden for this great job!
All rights reserved by alexworkshop